How to Integrate with ADP Workforce Now /Total Source/NextGen
Learn how to set up the powerful integrations and get your time exported to ADP
Before You Start
Ensure you have the following ready before attempting the setup:
- Active Accounts: You must have active accounts for both ADP Workforce Now (or Total Source/NextGen) and ClockShark.
- Permissions: The Integration setup must be purchased, consented to, and completed by the same ClockShark/ADP admin that started the integration.
- Cost: The connector costs $5 per month, which is charged by the ADP Marketplace and is attached to your existing ADP Invoice or a new payment method.
- Support: It is recommended that you schedule a meeting with the ClockShark Integrations Team to help you with setup, training, and your first export.
Hold on for your processing and contact ClockShark support If:
- You have more than one ADP Company Code in a single ADP account.
- You already have a different accounting or payroll integration connected to ClockShark.
- You need complex tracking (like optional Cost Number/Job mapping, Earnings Codes/Task mapping, or Pay Rate/Task mapping, etc).
In these cases, contact ClockShark Support Team to schedule a special workflow integration meeting instead of doing it yourself.
Integration Setup
If you don’t have an existing ClockShark account or trial start yet, you can create one from ADP:
- Log in to the ADP Marketplace with your ADP Admin credentials.
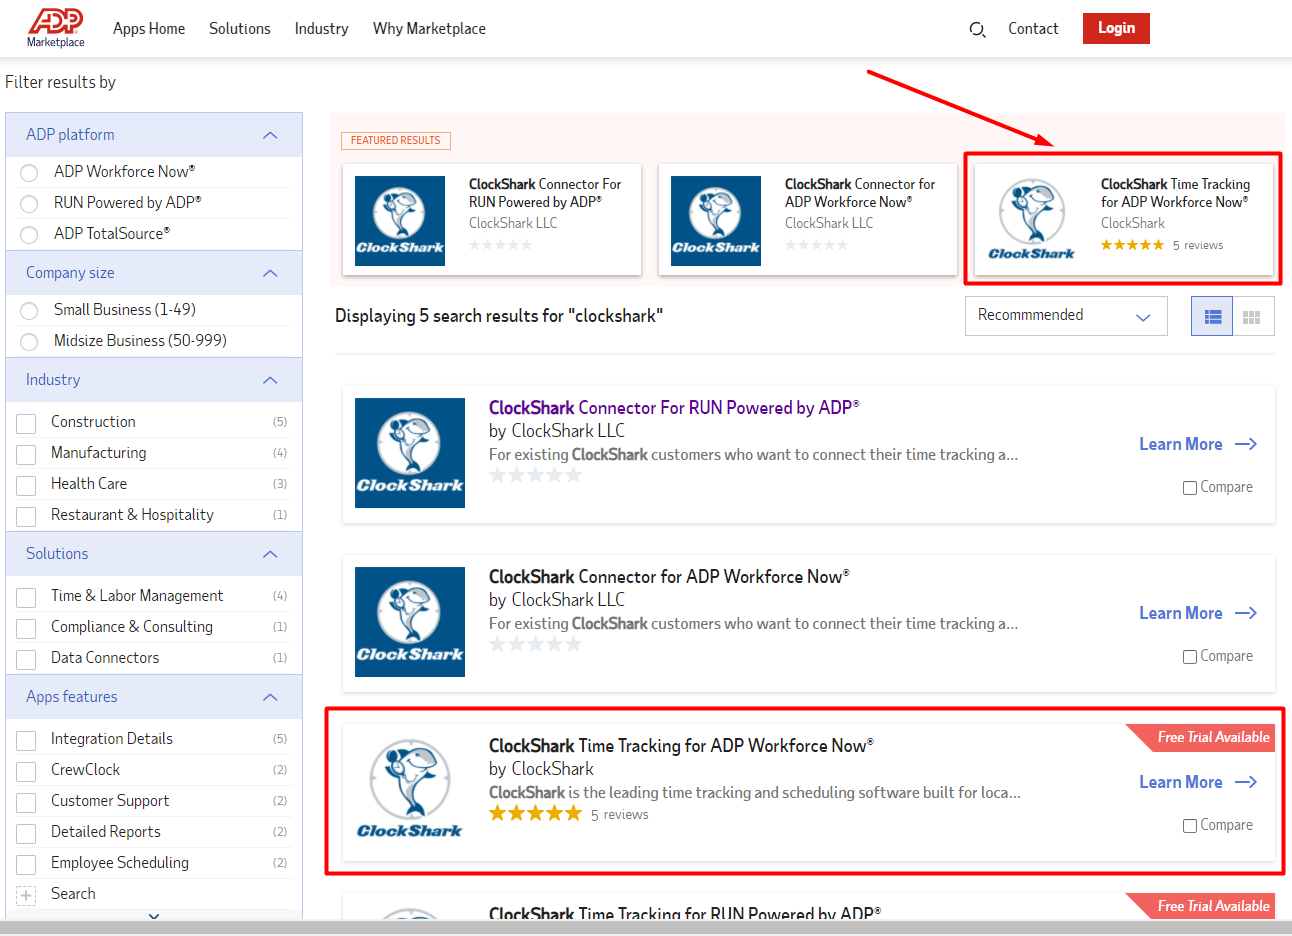
- Select Apps Home and search "ClockShark" in the search bar.
- Select the ClockShark Time Tracking for ADP Workforce Now® option, and select pricing for ClockShark Standard or Pro (pricing and feature comparison HERE).
- Click Continue to choose your payment method, and select Continue.
- Review the order, and check the box to agree to the Terms of Service.
- Place order.

.png?width=670&height=257&name=image%20(24).png) If Ifyou have a standard setup, follow the steps below in order.
If Ifyou have a standard setup, follow the steps below in order.
Step 1: Get Your Activation Code from ClockShark
- Log in to your ClockShark web portal.
- Go to Admin > Integrations > +Add ADP.
- You will see an Activation Code. Copy this code or write it down exactly as it appears.
|
Note: This code is sensitive to spaces and capitalization. Be careful not to copy any extra spaces before or after the code. |
Step 2: "Purchase" the Connector in ADP
- Open a new browser tab and log in to the ADP Marketplace with your Administrator credentials.
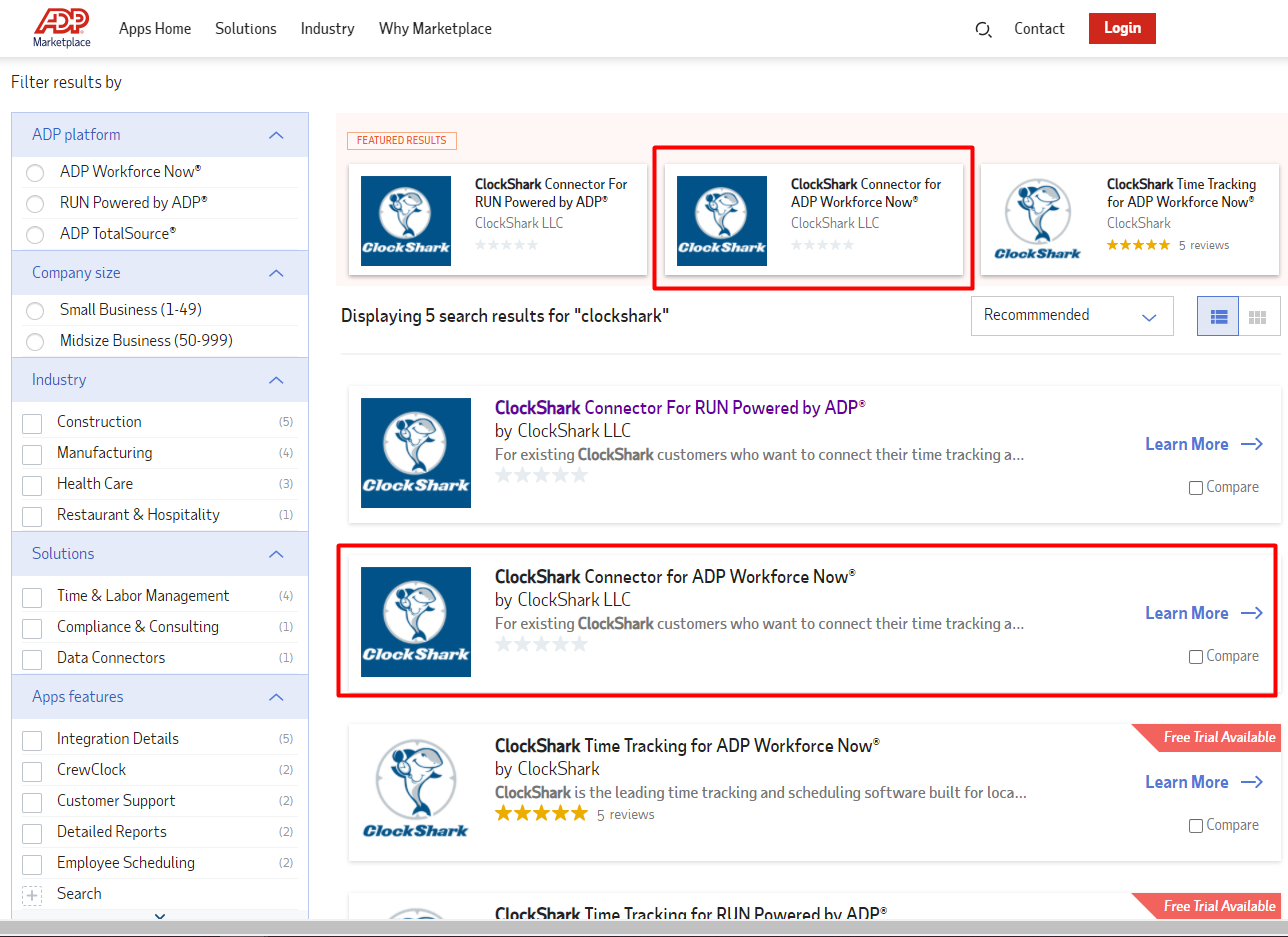
- Select Browse and search "ClockShark" in the search bar.
- Select the ClockShark Connector For Work Force Now Powered by ADP® option (non-trial version).
- Select Continue to Purchase.
- Paste the Activation Code you copied from ClockShark in the Activation Code field at the bottom left.
- Click the checkbox in the bottom right to agree to the terms of service, and click Buy Now.
|
After purchasing, DO NOT press Agree in the pop-up. |

Step 3: Finalize the Connection in ClockShark
- Go back to your ClockShark browser tab.
- Refresh the page, or go to Admin > Integrations > Manage ADP.
- Select the click here to consent to share data with ClockShark blue hyperlink.
- This will open a new ADP tab. Click Allow to approve the connection.
- Return to the ClockShark Manage ADP tab and click Retrieve and Save your Client Credentials in ClockShark.
Configuring Your Settings
After the systems are connected, now we are moving on to how to map the data to each other.
Map Your Pay Codes
- In ClockShark web portal, select Refresh ADP Earning Codes.
- Assign default ADP Earnings Codes for Regular Hours, Overtime Hours, and Doubletime Hours.
|
Map Your Employees
To map existing ClockShark employees to existing ADP employees:
- In ClockShark web portal, click the View & Edit Mappings button.
- Go to the Employees tab, and select Sync ADP Employees.
- Automatic Mapping: If the Auto Map box is checked, the system will automatically match employees who have the exact same name or email address in both systems. You can press Sync Employees to start mapping.
- Manual Mapping: If the employee’s name is spelled differently (e.g., "Mike" vs. "Michael") or recorded as different names between ClockShark and ADP, these employees can be manually mapped by selecting the pencil icon for an unmapped ADP employee. You can select the correct, unmapped ClockShark employee from the drop-down list and then select Update Mapping.
The left-hand column displays ADP users that are available to map ClockShark users to, and the right-hand column shows the ClockShark users mapped to the ADP user.
Only ClockShark employees who are actively tracking time in ClockShark need to be mapped and will be included in the time data export from ClockShark to ADP. Only ADP users that have been 100% set up in ADP are available options to map to ClockShark users.
Optional Features - ClockShark Pro plan only
There are some additional mappings that only work on the ClockShark Pro plan.
Mapping ClockShark Time Off policies to ADP
- Select the Time Off mapping tab.
- You will see that the existing ClockShark Time Off Policies are visible on the left-hand column.
- Select the pencil icon for an unmapped policy.
- Select the correct ADP Earnings Code from the drop-down to update mapping.
Note: Time imported against ADP Earnings codes for Time Off, will not be automatically subtracted from the Time Off balance for an Employee and must be manually subtracted. One ADP Earnings code can be mapped to multiple ClockShark Time Off Policies.
The below optional mapping options available in your ClockShark Pro plan. To access them, go to ADMIN > Integrations > Manage ADP > View & Edit Mappings, then select each labeled tab to review and configure the mappings.
Mapping ClockShark jobs to ADP Cost Numbers on the Cost Number mapping tab
Time tracked against a ClockShark Job mapped to an ADP Cost Number, will import into ADP referencing that Cost Number in the Temporary Cost Number column on the ADP Paydata batch.
Mapping ClockShark tasks to ADP Pay Rates
You can use this mapping to enable time data imported into ADP to be split into multiple ADP Pay Rates. By default, time exported from ClockShark will reference the Employees' base pay rate. Learn more in How to Map ADP WFN Earnings Code with ClockShark Tasks.
Note: If an employee tracks time against a Task mapped to a special Pay Rate, that employee must have that specific Pay Rate assigned to them in ADP. If they don't, the system will default to their base pay rate.
Mapping ClockShark tasks to ADP Earnings Codes
You can use this mapping to enable time data imported into ADP to be broken apart into multiple sets of Earnings codes.
