Create customers in ClockShark to store customer information, such as contact details, and track the jobs you’ve done for them.
Create a customer
There are two ways to create a customer:
- Click + New in the top right and click Customer.
- Go to Work > Customers and click Add Customer.
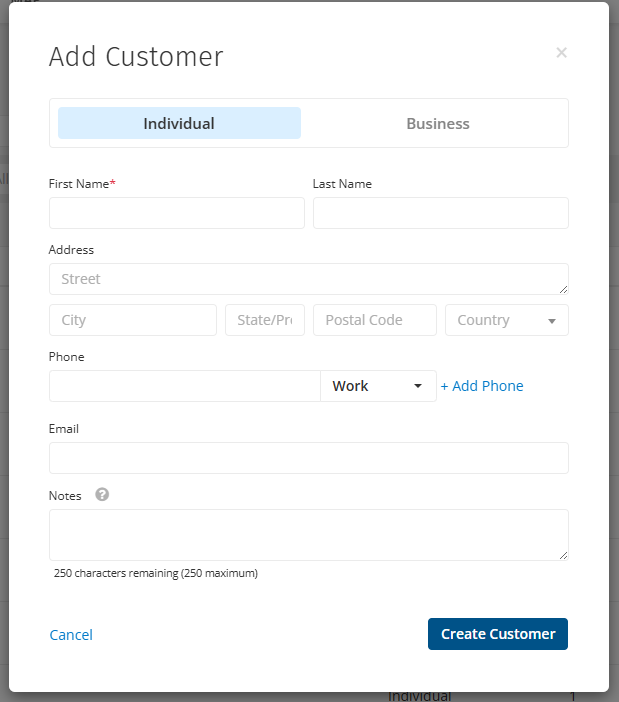
To add customer details:
- Select Business if the customer is a business. By default, new customers are Individuals.
- Enter a First Name and Last Name or a Company Name.
- Enter other details as required and click Create Customer.
Add contacts
Some customers may have contact details for multiple individuals.
To add a contact to a customer:
- Go to Work > Customers and click the relevant customer to open them.
- In the top right corner, click Actions > Add Contact.
- Enter the contact’s First Name and other relevant information.
- Click Save.
You can view contacts created for a customer by clicking the Contacts tab.
Add attachments
You can add files to a customer as attachments, which can then be accessed when viewing the customer in the website and the mobile app. This is an easy way to store receipts, contracts and other relevant documents relating to this customer.
To add an attachment:
- Go to Work > Customers and click the relevant customer to open them.
- In the top right corner, click Actions > Upload Files.
- Upload the file from your computer.
You can view attachments that have been uploaded by going to the Attachments tab.
Create a job from a customer
If you have a customer open, you can create a new job for that customer without leaving the customer’s page.
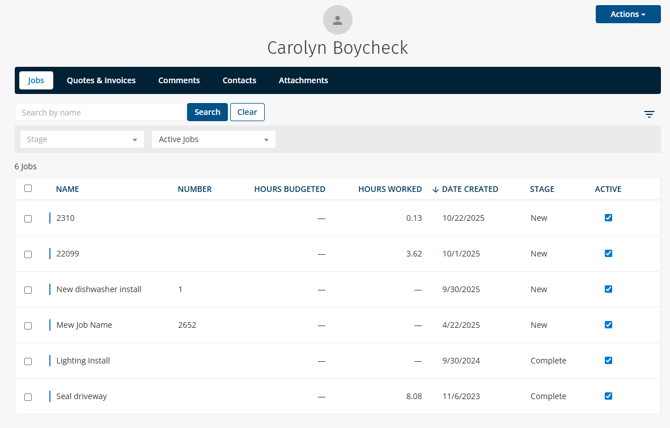
Click Actions > Create Job and the normal Add Job pop-up will appear, with the customer already selected. Continue creating the job as normal.
In the customer you can view jobs created for the customer in the Jobs tab. You can also view quotes and invoices for this customer in the Quotes & Invoices tab.
Assign jobs in bulk
To assign a customer to multiple jobs at once:
- Go to Work > Jobs.
- Select the check boxes for each job
- Next to Assign to, select the customer.
- Click Save.