If you use either QuickBooks Online or QuickBooks Desktop as your accounting package, any new jobs, tasks and employees created in QuickBooks can be automatically copied into ClockShark without any manual entry.
QuickBooks Desktop
If you have integrated ClockShark with QuickBooks Desktop, you can import newly created and updated items from QuickBooks Desktop automatically.
To set up automatic importing:
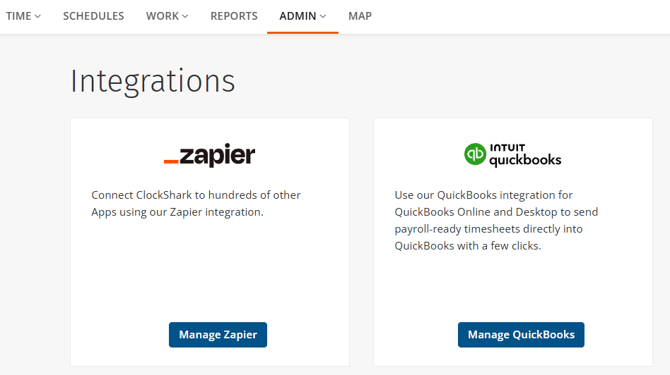
- Go to Admin > Integrations > Manage QuickBooks.
- Make sure to check the Automatically import customers/jobs, service items and employees to ClockShark on each Web Connector update checkbox.
- Under Import Options, choose to Import Jobs and Customers or Import Jobs Only.
- If you want to add exported time to an invoice for customers, select the Export Time Activities as Billable check box.
- You can also choose the default payroll items used by tasks in ClockShark.
- When you’re finished updating these settings, click Save Settings.
When you run the QuickBooks Web Connector, any new jobs, customers, employees or service items created in QuickBooks will be added in ClockShark.
ClockShark will update items to match information in QuickBooks. For example, if the name of a job is changed in QuickBooks, the automatic importing feature will change the name in ClockShark as well. If you do not want details in ClockShark to be updated, delete the mapping between ClockShark and QuickBooks using the trash icon.
ClockShark will only import an item once through the automatic import. If you have items that you don’t want to import, turn off automatic importing, run the web connector, then turn automatic importing back on and these items will not be imported again.
QuickBooks Online
If you have integrated ClockShark with QuickBooks Online, you can import newly created and updated items from QuickBooks Online automatically.
To set up automatic importing:
- Go to Admin > Integrations > Manage QuickBooks.
- Under Auto-Map Direction, choose if you want to send ClockShark items to QuickBooks or QuickBooks items to ClockShark. You still only have to create items once, but you can choose where you create them.
- Alternatively, select None: Manual Mapping Only to turn off automatic mapping. Learn more in QuickBooks Online Mapping.
- Under Use Billing/Shipping Address as Job Location, choose which address you want to import from QuickBooks.
- Select a Time Export Format.
- If you want to add exported time to an invoice for customers, select the Export Time Activities as Billable check box.
- Click Save Settings.
Create a customer/job/service item/employee/task in either ClockShark or QuickBooks Online, depending on your Auto-Map Direction. The items will be imported and mapped into the other software within 60 minutes.