The QuickBooks Online Integration requires a QuickBooks Online Essentials subscription, or a higher plan.
Once connected to QuickBooks Online, your ClockShark Customers, Jobs, Tasks, and Employees can be synchronized automatically or manually with your QuickBooks Online Customers/Jobs, Service Items, Vendors, Employees, and Payroll Items. You can also export your time activities from ClockShark to QuickBooks Online.
Set up the integration
To set up the integration:
- Go to Admin > Integrations.
- Under QuickBooks click +Add.
- Click Connect to QuickBooks.

- Select the right company name, and click Next.

- Click Connect, and you will see the page Create QuickBooks Online Mappings.

- On the Mappings page, you have the option to map any ClockShark tasks, jobs and employees to existing QuickBooks service items, customer/jobs and employees.
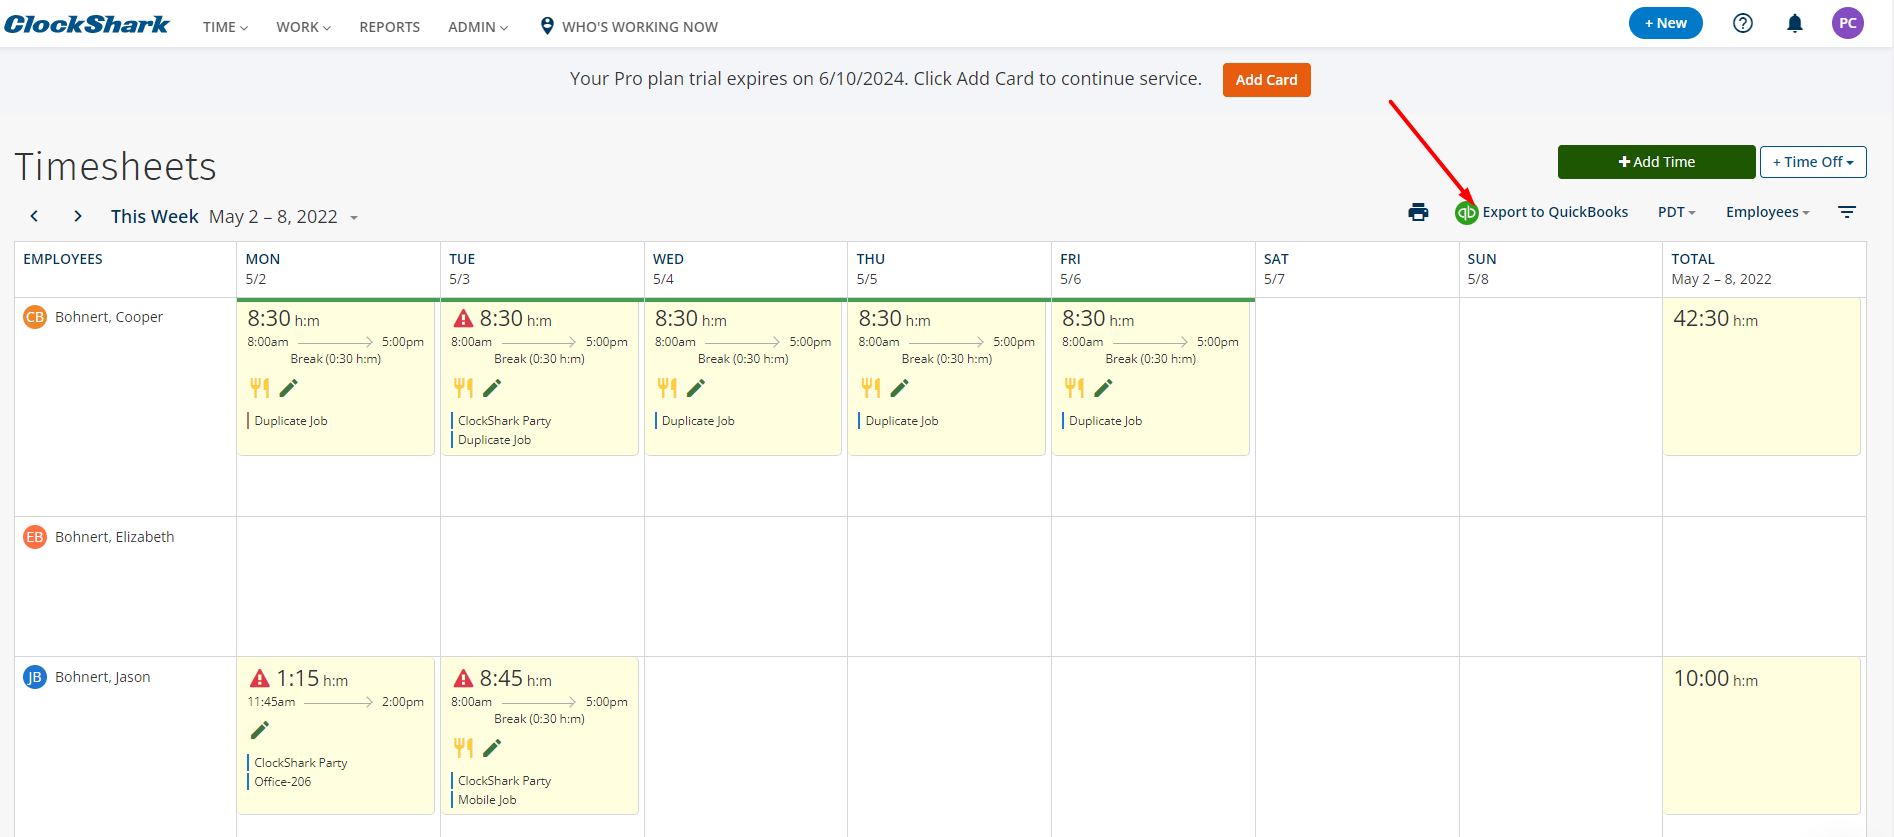
After you’ve set up the integration and finished mapping, you can go to TIME > View page, click Export to QuickBooks to export time to QuickBooks Online. Learn more in How to Export Time to QuickBooks.