ClockShark Invoices are not available during the trial period. If you want to access this feature during the trial, please contact Customer Support or your Sales Representative.
No two businesses are run the same way. That's why ClockShark allows you the flexibility to create invoices in the way that makes the most sense for you and your team. You can create invoices from:
-
A previous Quote
-
While looking at a specific Customer
-
From the Jobs Page
-
While looking at a specific Job
Creating Invoices
Invoice Header
Once you start creating an invoice, the first thing you will want to do is choose the Customer you’re invoicing. If you create this invoice from an existing Customer, Job, or Quote this will be filled in for you. You can also create a new customer right on this page if you need to.
Note: A customer is only required to get past the “draft” status. While the Invoice is in draft status you can use it as a template or keep it around if you need more time to finish it.
Next, you can choose the email that you want to receive this invoice. You can choose from contacts already assigned to the Customer or enter a new email. You can add multiple recipients. Next, give your Invoice an ID for easy identification for you and your customer. You can choose the name of the project like "5th Street Bank Installation" or you can use our “Generate ID” link to automatically assign the next available Invoice ID. Then we have the issue date and the due date. The issue date defaults to today, but you can customize this as needed. For the due date, you can choose between net 30, net 60, net 90, and also a custom date.

Sections and Line Items
Now we are on to sections and line items and you can get really creative here. Think of sections as a grouping title for line items to help you organize the Invoice. The line items themselves are whatever you want to itemize for the Invoice.
Sections just consist of a title. Line items consist of a line item title, quantity, rate, total, description, and any applicable tax rates. Note that everything is optional, but you need at least one field filled in for it to save.
You can add as many line items and sections as you need. These can be things like labor charges, parts & materials, administrative fees, or anything else you need to charge for. You can also add time tracked in ClockShark by your employees directly on the invoice to be billed to your customer. For more details on this powerful feature check out this help article.
You can drag line items underneath a section to group it inside and they will appear indented. Just drag the line item up or down until it is inside the grouping line of the section. Once line items are added to a section, you can move the section header to move the entire section. Likewise, if you delete the section header, that will delete the entire section.
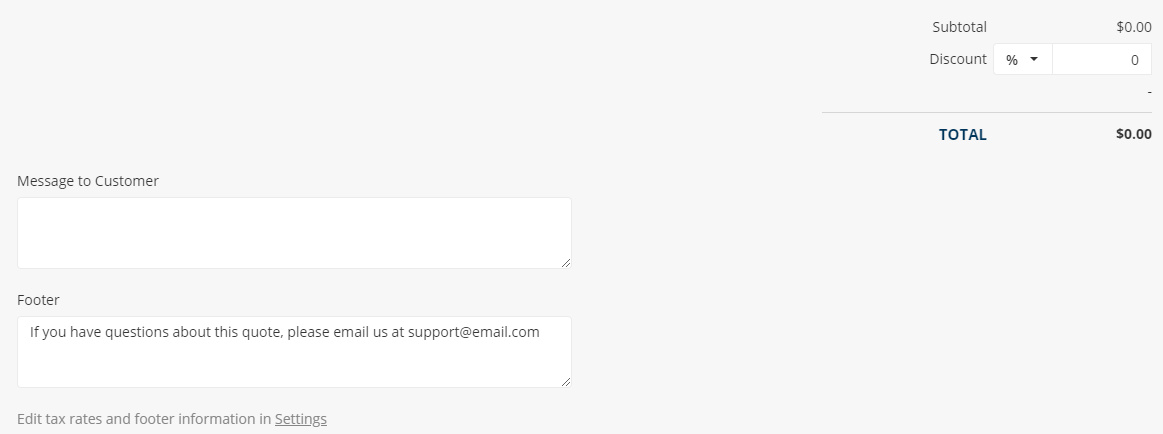
Invoice Additions and Footer
Once you have your sections and line items to your liking, you can move on to the bottom section. The bottom section consists of your subtotal of charges, taxes, any discounts you want to provide, and a grand total.
You can add a message to the customer and a footer message.
Tax rates and default footers can be managed in the Quotes, Invoices, and Payments settings.
And now your Invoice is created! Save your invoice and send it later, or you can save and send it all at once. For more information on the entire invoicing process in ClockShark, check out these related articles:
If you have any questions along the way please feel free to contact our Support team and get ready for answers!