When you send information from ClockShark to QuickBooks Online, or vice versa, your data needs to be mapped correctly so that the right information is sent to the right place. For example, you can map an employee in ClockShark to an employee in QuickBooks to make sure their time is recorded correctly in both systems.
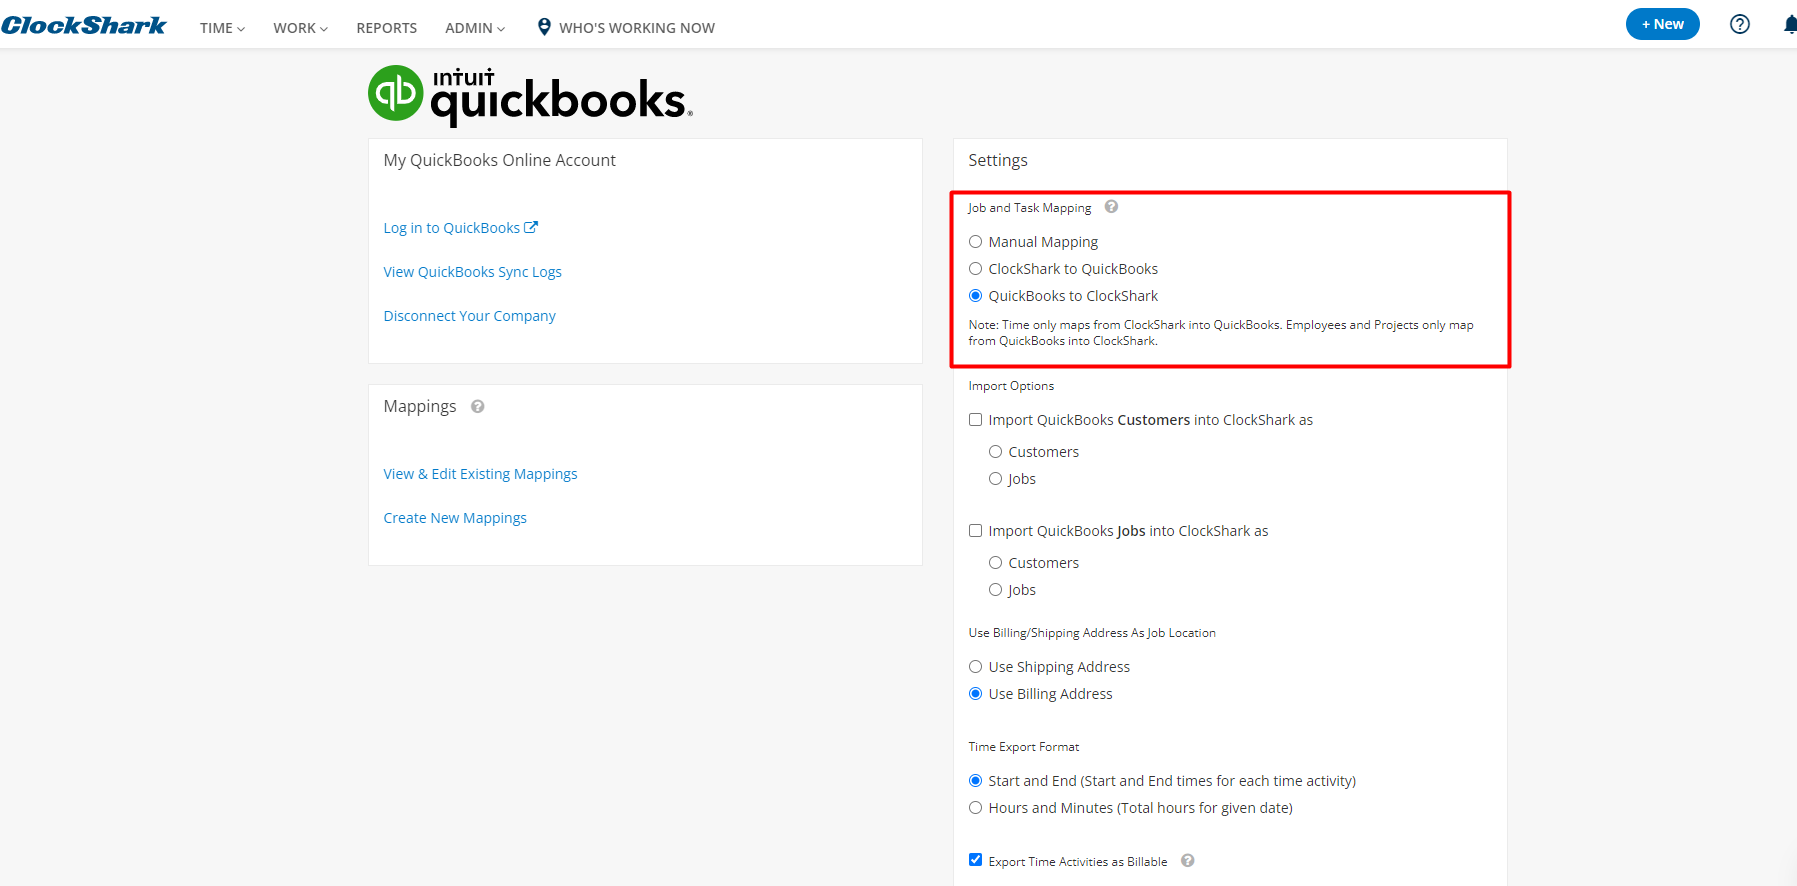
If you use the QuickBooks Online integration, you can choose to send data in either direction from both systems using automatic mapping.
You can also create mappings manually to have more control over your data.
Set up auto-mapping
If auto-mapping is set up, any items created in QuickBooks Online or ClockShark, depending on your auto-mapping direction, will be automatically mapped.
Learn more in How to Use QuickBooks Automatic Importing.
Create mappings manually
To create mappings manually:
- Go to Admin > Integrations > Manage QuickBooks > Create New Mappings.
- Use the tabs at the top to navigate the different types of data.
|
Tab name |
Functions |
|
Customers |
Create new jobs or customers. |
|
ClockShark Customers |
Create new customers in QuickBooks using customers from ClockShark. |
|
Jobs |
Create new customers or sub-customers in QuickBooks. |
|
Employees and Vendors |
Create new employees in ClockShark. (Note: Employees come from QuickBooks to ClockShark only.) |
|
Service Items |
Create new tasks in ClockShark. |
|
Tasks |
Create new service items in QuickBooks. |

3. Find the correct entry on the left and select the corresponding entry in the other system from the drop-down on the right.
4. Click Finalize Mappings.
After your mappings are finalised, data will flow between the two systems every 60 minutes.
Edit mappings
To edit mappings that have been created:
- Go to Admin > Integrations > Manage > View & Edit Existing Mappings.
- Use the tabs at the top to navigate the different types of data.
- Find the correct entry on the left and select the corresponding entry in the other system from the drop-down on the right.
- Click Update Mappings.
